Do you want to change WordPress permalinks? If you are looking for a step-by-step guide, keep reading this post. We will show you how to change the permalinks on your WordPress website without any issues!
Having the proper permalink structure is mandatory. It will help you with SEO and improve your website’s user experience. Imagine publishing an article on the best WordPress shared hosting providers.
By default, WordPress comes with a plain permalink structure, and it will create something like this: www.wpblogmaster.com/p=1234.
This is not well-optimized. Neither search engines nor your website visitors will understand what it’s about, and they will have difficulty understanding the permalink structure.
On the other hand, if you can make the permalink structure like this: www.wpblogmaster.com/best-shared-hosting-providers, it is more friendly.
You can always edit the permalinks via the Classic or Gutenberg editor. However, to make the job easier, you can tweak the permalink structure of your website a bit.
If you are wondering how that’s done, keep reading this article. We will show you how to tweak the WordPress permalink structure and improve SEO.
Table of Contents
Common Permalink Structures
WordPress comes with five different permalink structure options:
- Plain: WordPress will add p=123 or similar numbers as the permalink. This is the default permalink structure, and it needs to be modified.
- Day and name: WordPress will add the complete date to the permalink with the post name at the end of this structure.
- Month and name: Here, WordPress will include the year, month, and post name in the permalink structure.
- Numeric: WordPress will add numeric values as the permalink in this case. This is not ideal for bloggers since the search engines and users will find it hard to understand.
- Post name: As the permalink structure name says, WordPress will assign the post’s title as the permalink.
People use permalink structures with the post name or category and post name. For example, the permalink structure with the post name structure will look like this:
www.wpblogmaster.com/change-permalinks
On the other hand, the permalink structure with category and post name will look like this:
www.wpblogmaster.com/wp-tutorials/change-permalinks
You can pick an option based on your preferences.
How to Change WordPress Permalinks
You can change the WordPress permalinks in three ways:
- Using the WordPress settings
- Via the .htaccess file
- With the help of a custom plugin
This guide will show you three methods. You can pick an option and use it to update the permalink structure based on your requirements.
1. Via the WordPress Settings
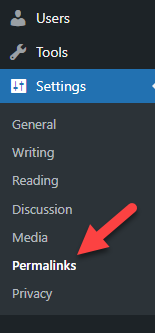
The easiest and most straightforward way to modify the WordPress permalinks is via the WordPress settings page. First, log in to your WordPress admin dashboard and go to the Permalinks settings.
You can see the permalinks settings under WordPress settings.
There, you could see all the available permalink structures.
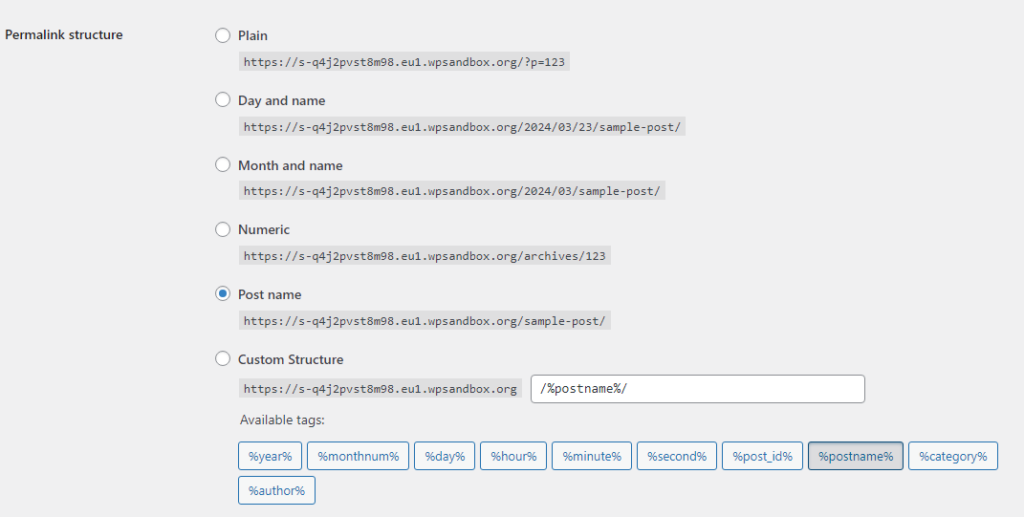
You can see any structure you like on the page. As you can see, there are multiple options available like:
- Plain
- Day and name
- Month and name
- Numeric
- Post name
And so on.
Once you have selected any option and saved the settings, the permalink structure will be modified. However, it is also possible to create a custom structure.
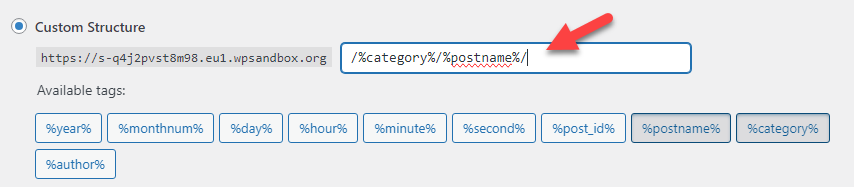
You can choose the last option available with the available tags, and you have created a custom permalink structure. For example, we will show you how to add categories and post names in the permalink.
You must add %category% and %postname% to the settings to do that. The configuration will look like this:
If interested, you can modify the category and tag base from the same page.
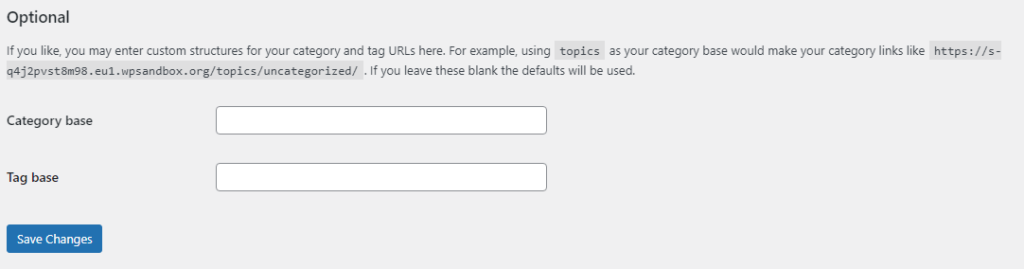
Once you have modified the settings, save it. From now on, WordPress will use the updated permalink structure for your future posts, pages, and custom post types.
The next method will show you how to use the .htaccess file to tweak the permalink structure.
2. Using the .htaccess File
Sometimes, your permalinks can get faulty because of a broken .htaccess file. If you are experiencing any issues with WordPress permalinks, you should regenerate your .htaccess file.
The .htaccess file is in the main WordPress installation directory. You can access it with an FTP client or a file manager plugin.
In this case, we will use a file manager plugin to find the .htaccess file. As you can see in the screenshot, we have found the file.
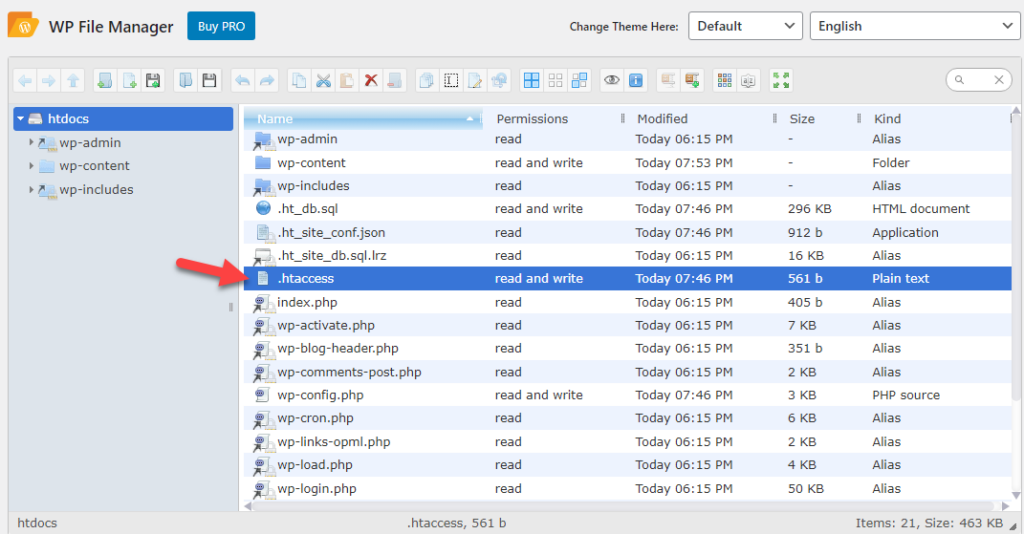
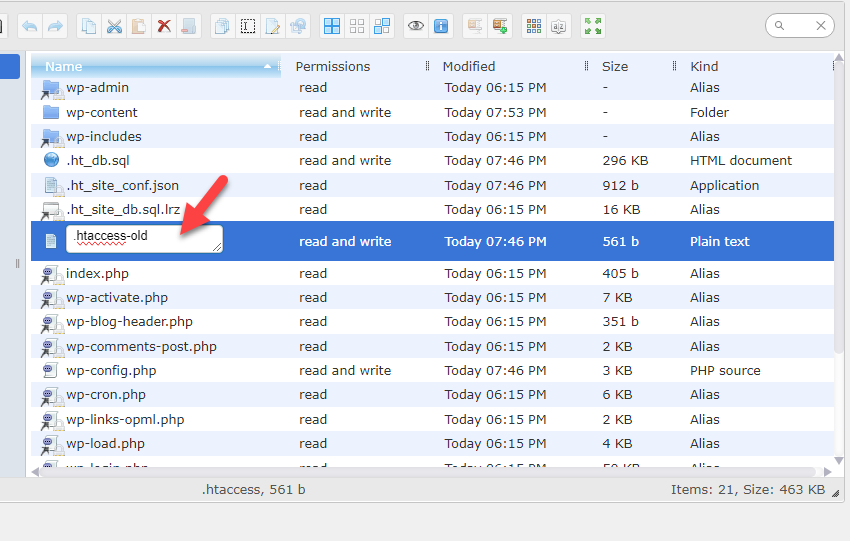
You should rename it to something else.
Now, open the WordPress permalinks settings and save them again. You do not need to modify any options; simply hit save changes.
Once you have done that, go to the file manager and see a new .htaccess file.
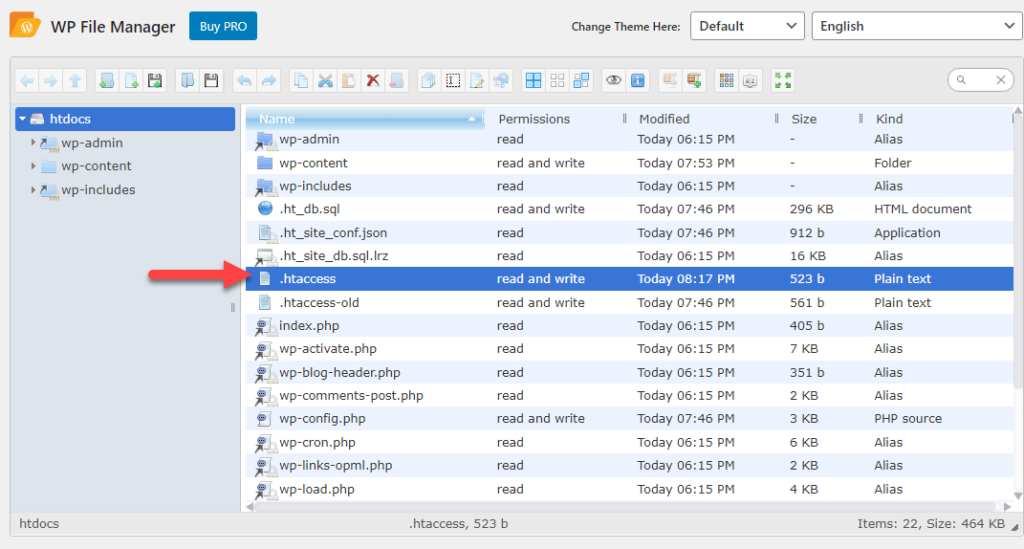
This is how you can generate a new .htaccess file. Generating a new .htaccess file would be helpful if your permalinks structure is not working after changing them.
The following section will show you how to use a dedicated plugin to manage your permalinks.
3. With a Dedicated Plugin
You can manage your permalinks with a dedicated WordPress plugin. Multiple plugins are available for this task. For this tutorial, we will use Permalink Manager.
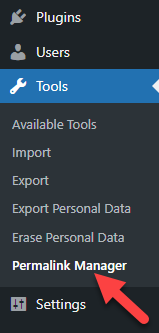
First, install and activate Permalink Manager on your WordPress or WooCommerce website. After the activation, you can see the plugin’s settings under WordPress tools.
There, you will see all the published articles with their permalinks.
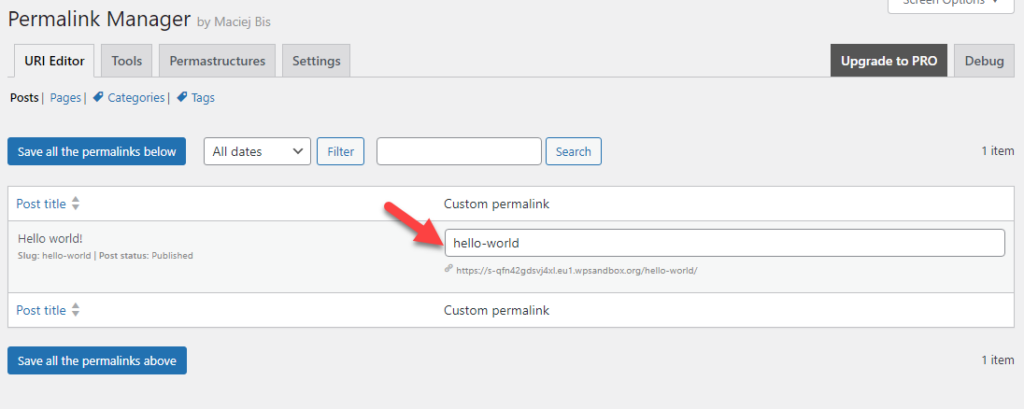
This feature allows you to modify the post’s permalink. You must change the custom permalink slot and save the settings to do so.
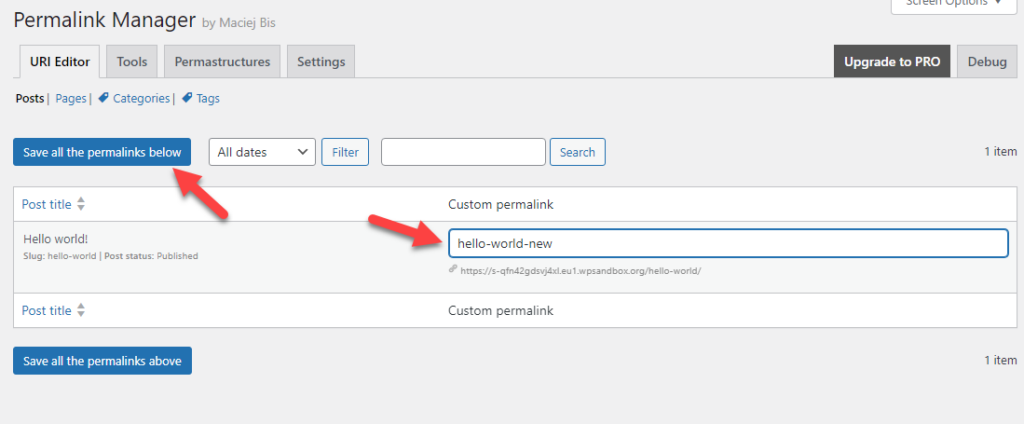
This way, you do not need to open individual posts and edit the permalinks. Tailoring the URL via the Permalinks Manager dashboard would be much easier.
That’s it!
These are the three ways you can use to change WordPress permalinks.
How to Set Redirections in WordPress
You might need to set up redirections if you have already published some articles and changed the permalink structure. If you didn’t, the website visitors from organic searches will go to 404 pages, which is not a good practice.
Multiple plugins are available to set redirections in WordPress. For this tutorial, we will use a free plugin called Redirection.
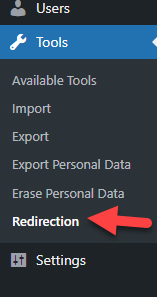
First, install and activate Redirection on your WordPress website.
Now, you can see the plugin’s settings under the WordPress tools section.
The plugin has a simple setup wizard. You can continue to complete the configuration. Once you have finished, you will be redirected to the plugin’s settings page.

The setup is simple. You will see the source and target URLs by checking the screenshot above. In the source URL section, you need to enter your old URL; in the target URL section, you must enter your new URL.
Once you have modified the settings, save it. When someone enters your old URL in a browser, they will be redirected to the new one.
Frequently Asked Questions
Now, let’s look at some of the frequently asked questions.
What are permalinks in WordPress?
Permalinks are permanent URLs that help search engines and users find specific blog posts, pages, and custom post types in your blog.
Why should I change my WordPress permalinks?
You can change the WordPress permalink structure to improve the SEO and user experience.
How do I access the Permalinks settings in WordPress?
You will see the WordPress permalink settings under settings. From there, you can access the settings.
Are there any risks associated with changing permalinks?
When you update the permalink structure, your old links won’t work. So, you need to set up redirections properly to redirect users to the right article. Otherwise, the users will see a 404 page.
Can I create custom permalink structures?
Yes. Via the WordPress settings page, you can create custom WordPress permalink structures. However, keep in mind that building a user-friendly structure is mandatory.
How can I test my permalinks after making changes?
You can type the link to the blog post or page in the browser tab with the newly updated permalink. If you can see the content, the permalink is working.
If you can’t see the content, update the permalink structure again.
Conclusion
this article has shown you everything you need to know about WordPress permalinks. By default, WordPress comes with a permalink structure that is not optimized.
However, since the CMS allows you to tweak it, you can change WordPress permalinks without hassle. We highly recommend changing the permalinks and making them unique and SEO-ready.
If you have already published content, you need to set up redirections. You can use an SEO plugin like Rank Math or a dedicated redirection plugin for that task.
If you are looking for more articles, feel free to go to our tutorial archives.