
Running an online shop, a membership website on the WordPress CMS is pretty easy. With the help of a WordPress plugin such as WooCommerce or MemberPress, we will be able to create anything we want. However, while they need to make changes to their account, probably they need to login to their account.
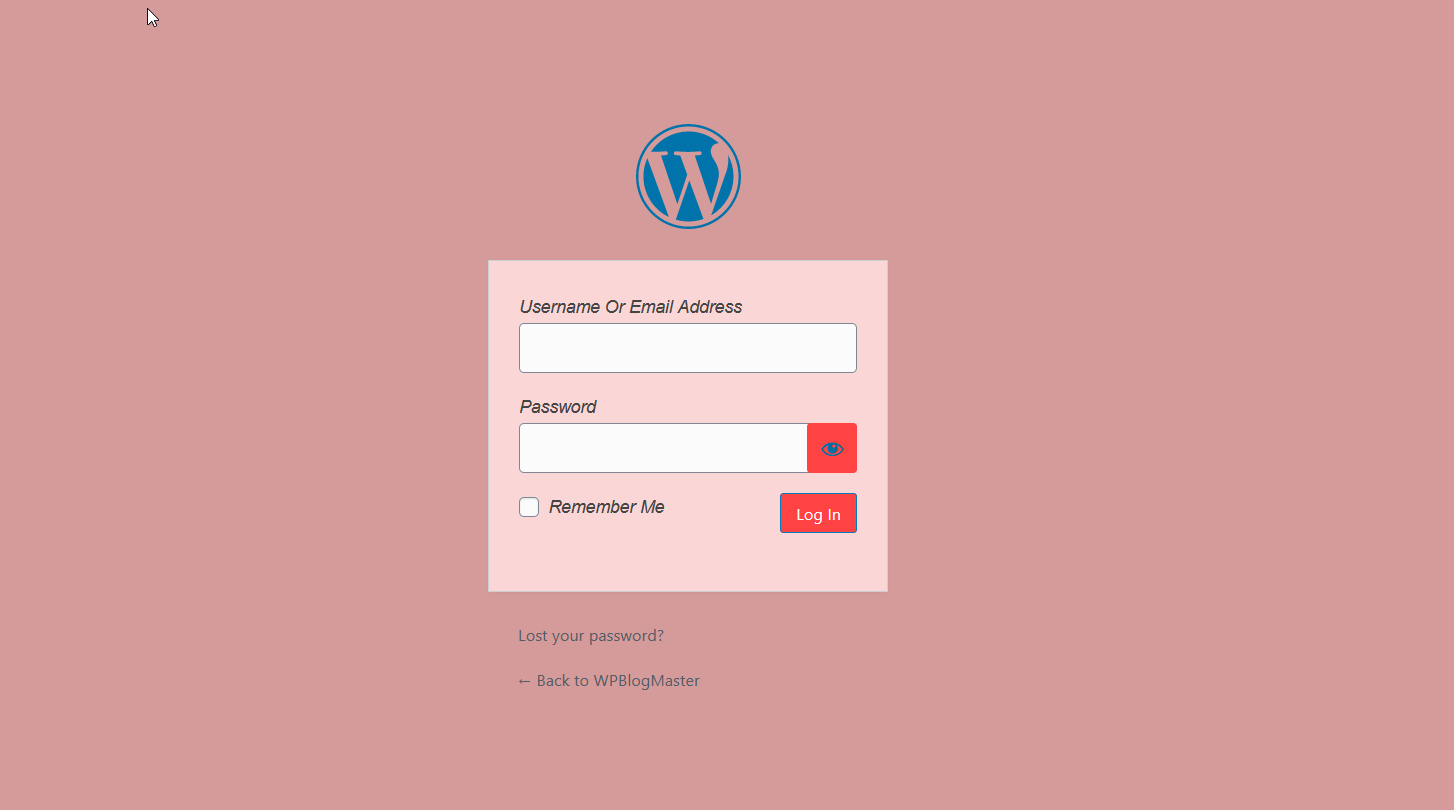
The default login page offered by WordPress is very basic.
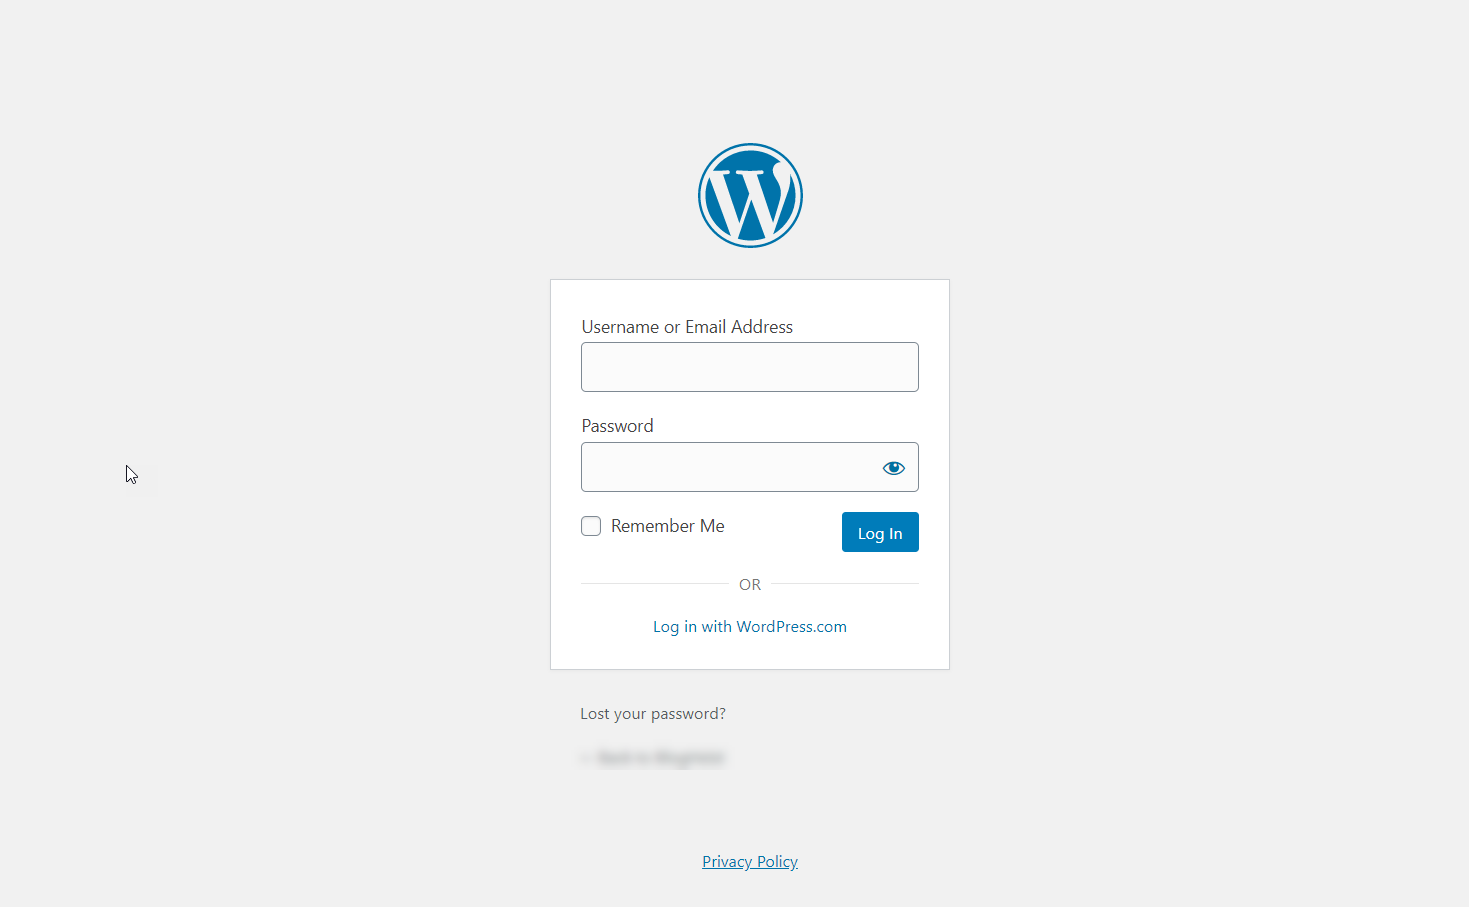
While you are running an online business, the default login page won’t be a great fit for your business. And in most cases, people will try to modify it.
However, if you are looking for a simple way to customize the WordPress login page of your site, we have got you covered. In this article, we are going to show you the simple method to make changes to your WordPress login page styling.
CSS Hero
CSS Hero is a premium WordPress plugin used for styling purposes. Most of us know for adding custom colors, styling, we might want to use additional CSS codes through the WordPress customizer or a child theme. But if a beginner who doesn’t know how to code needs to design the site, he probably needs to rely on any freelancers or agencies.
But without getting help from any third-party, you can create your own custom design without even knowing CSS codes.
With the CSS Hero plugin, you can design every inch of your WordPress site. Thankfully, it offers a live-preview mode and you can see every change in that section.
As of today, there is no free version available. But the developer team offers a money-back guarantee on all their premium plans.
We have recommended this plugin to so many folks who need a hand in their designing journey.
And all of them are pretty happy.
Now, let’s see how we can customize the WordPress login page using CSS Hero.
How To Customize The WordPress Login Page?
The very first thing you need to do is, purchase the CSS Hero WordPress plugin. You can choose any plans from there. Once you have made the payment, you will be able to login to your CSS Hero account, download the premium plugin files.
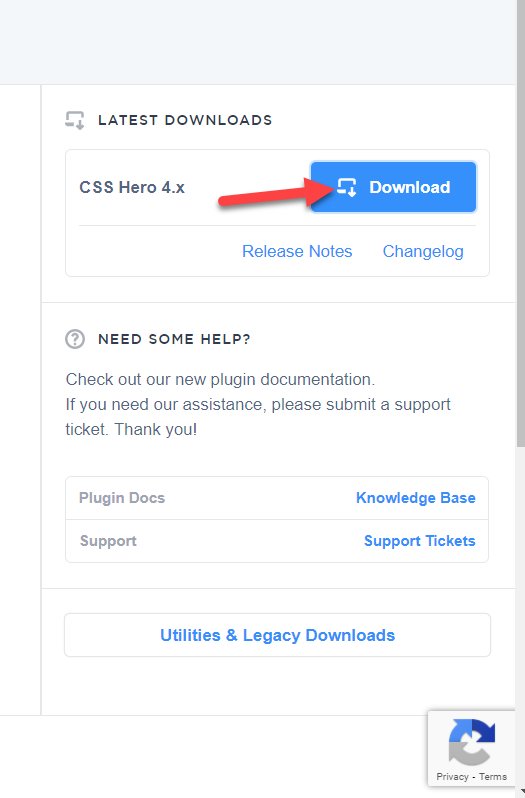
After downloading it, you will need to install it on your blog.
Installation and Activation
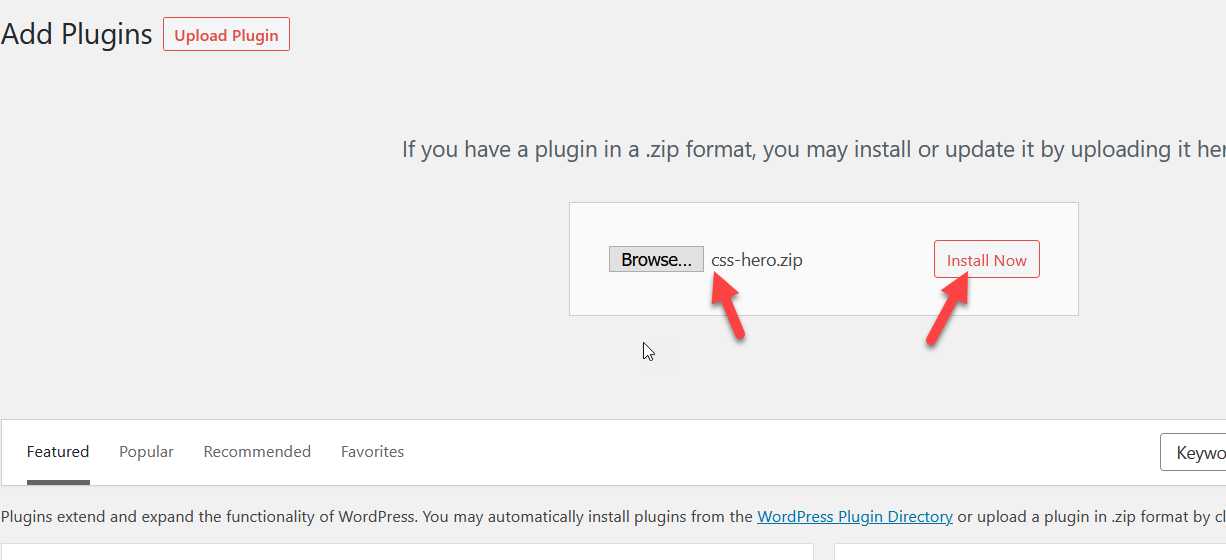
You can install the plugin manually or by using an FTP client such as FileZilla. The best and simple way we have here for you is, manually uploading the plugin files to your blog, installing, and activating it.
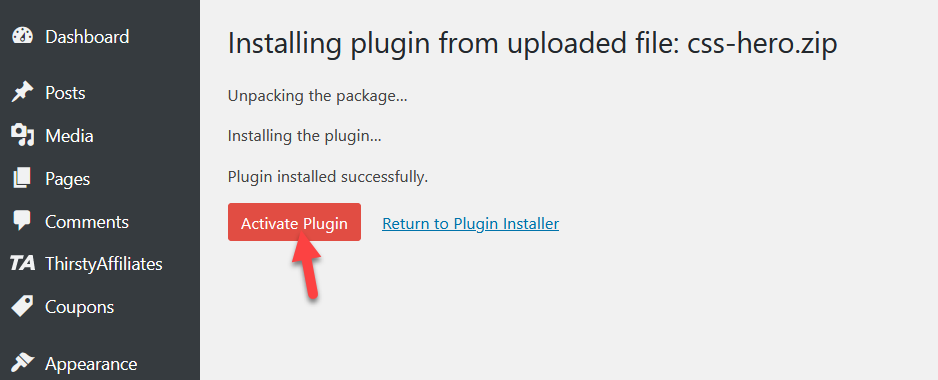
Just login to your WordPress site, go to the add new plugins section. And upload the plugin file there.
Once you have installed it, activate the plugin.
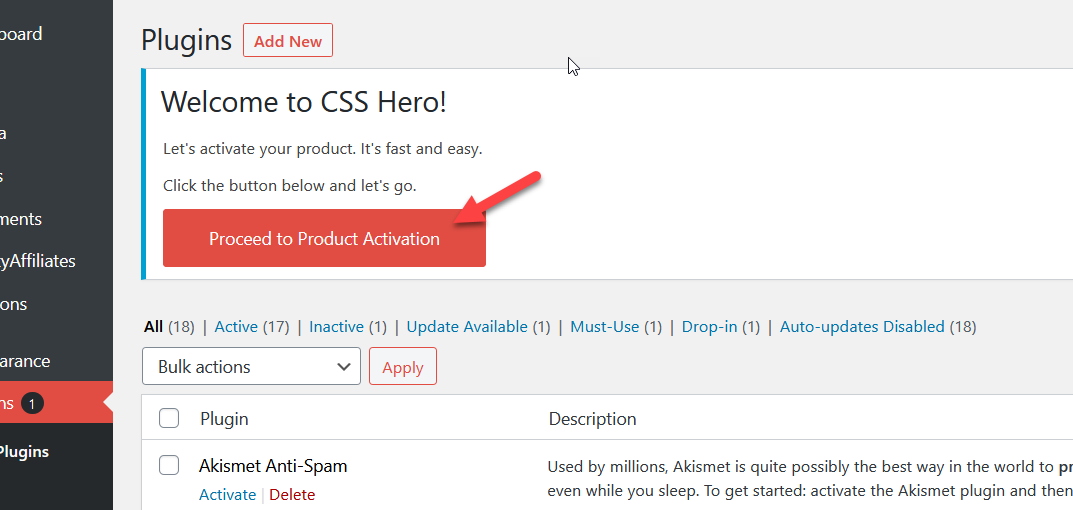
For receiving updates and support from the developer, you might want to consider activating your copy with a valid license key. Just after activating the plugin, you can see a button on the screen for verifying the license key.
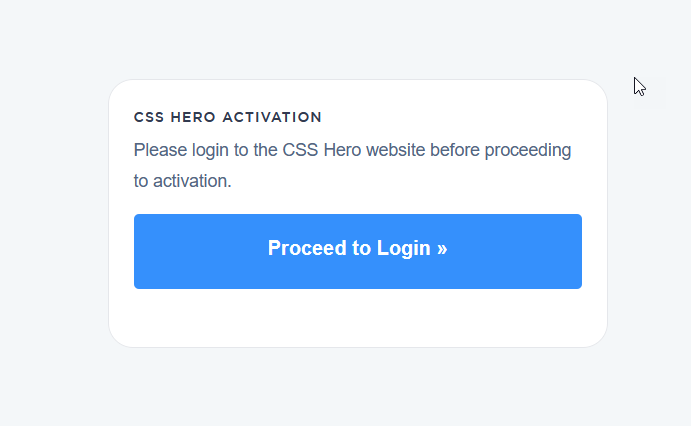
It will redirect you to the official CSS Hero website. You will need to login into your CSS Hero account for authentication.
After logging in to your CSS Hero account, you can generate a license for your website.
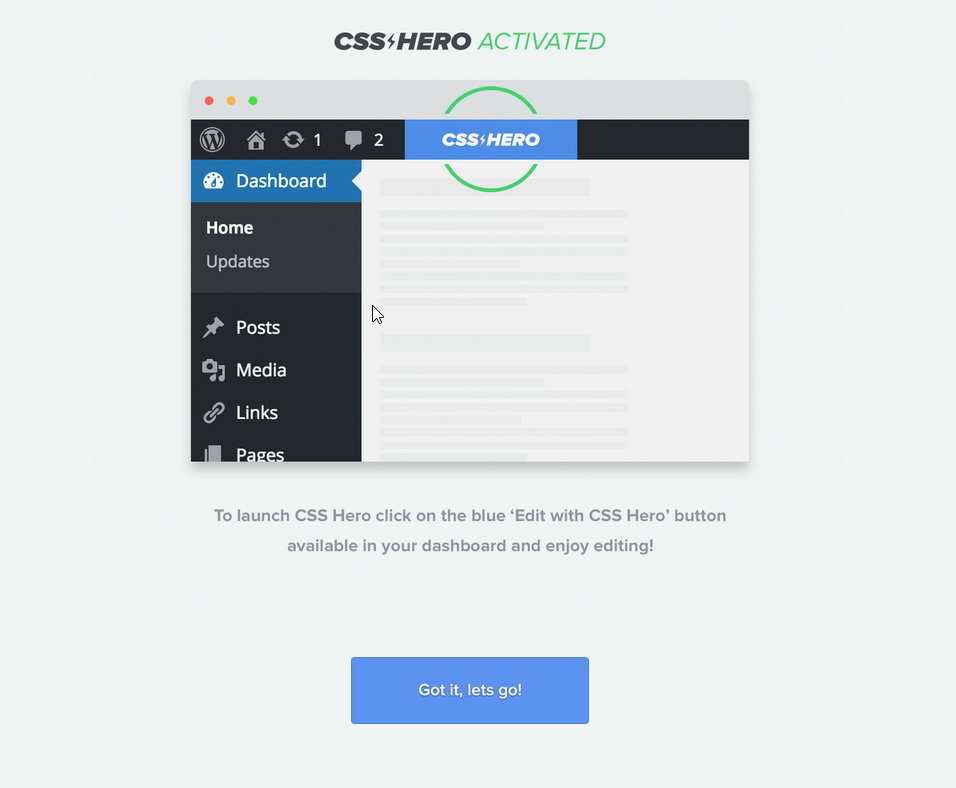
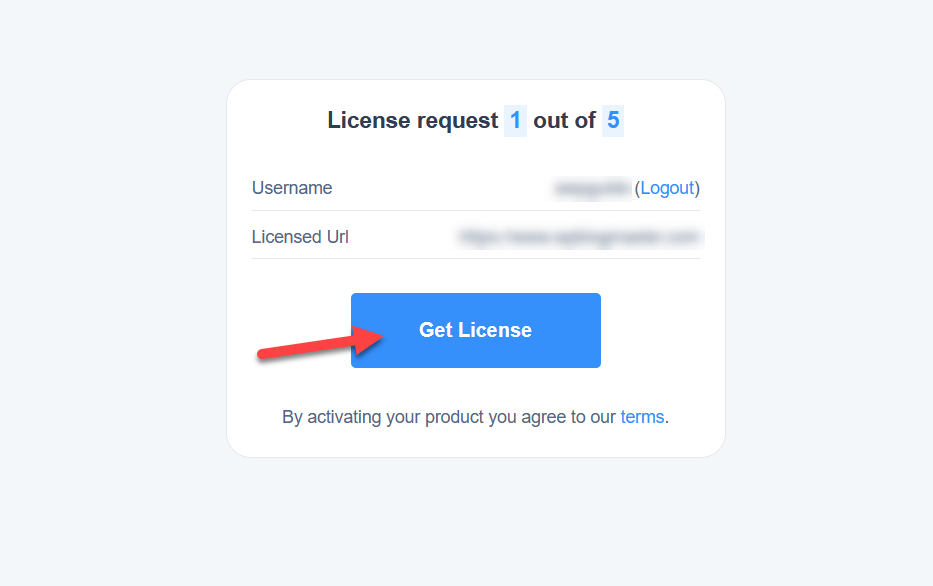 Now, you can see that the CSS Hero got activated on our site!
For using the plugin, all you need to do is, click on the CSS Hero button available on your WordPress dashboard.
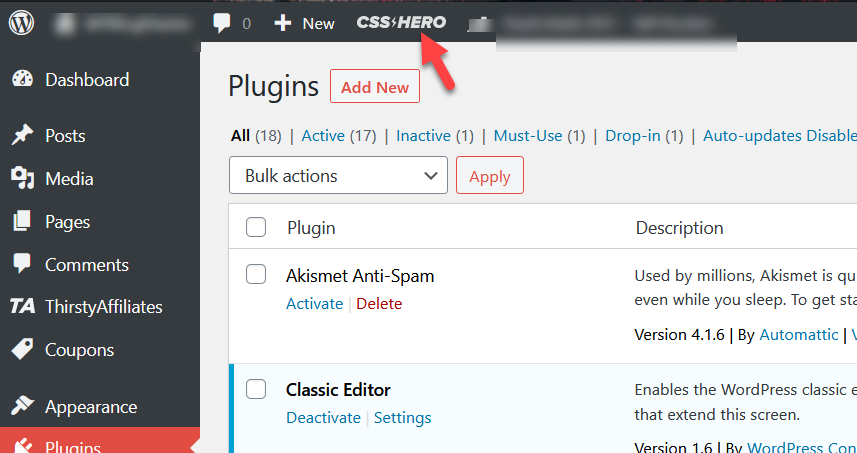
You will be redirected to the CSS Hero editor.
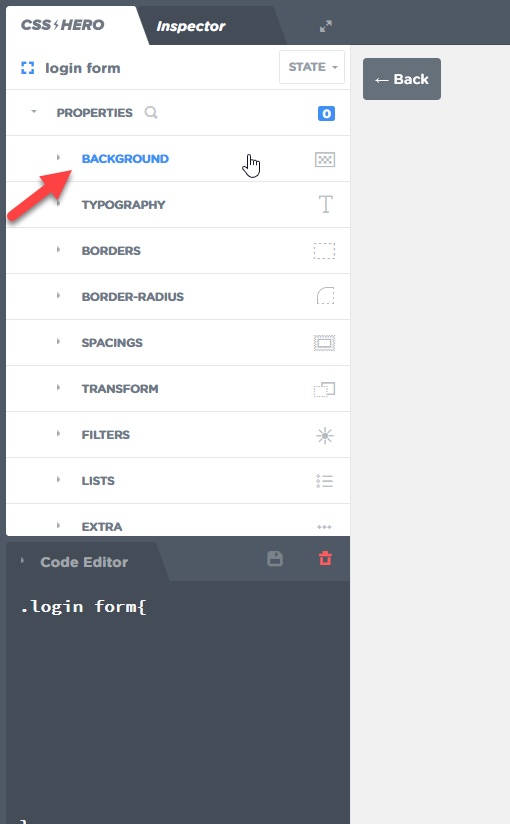
Under Tools, you can see an option for styling the login page of your site.
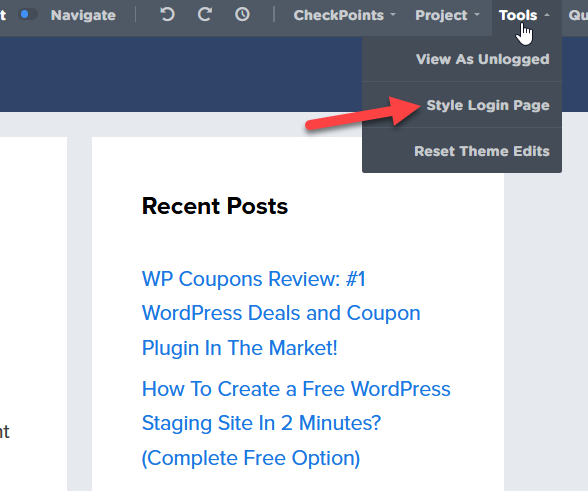
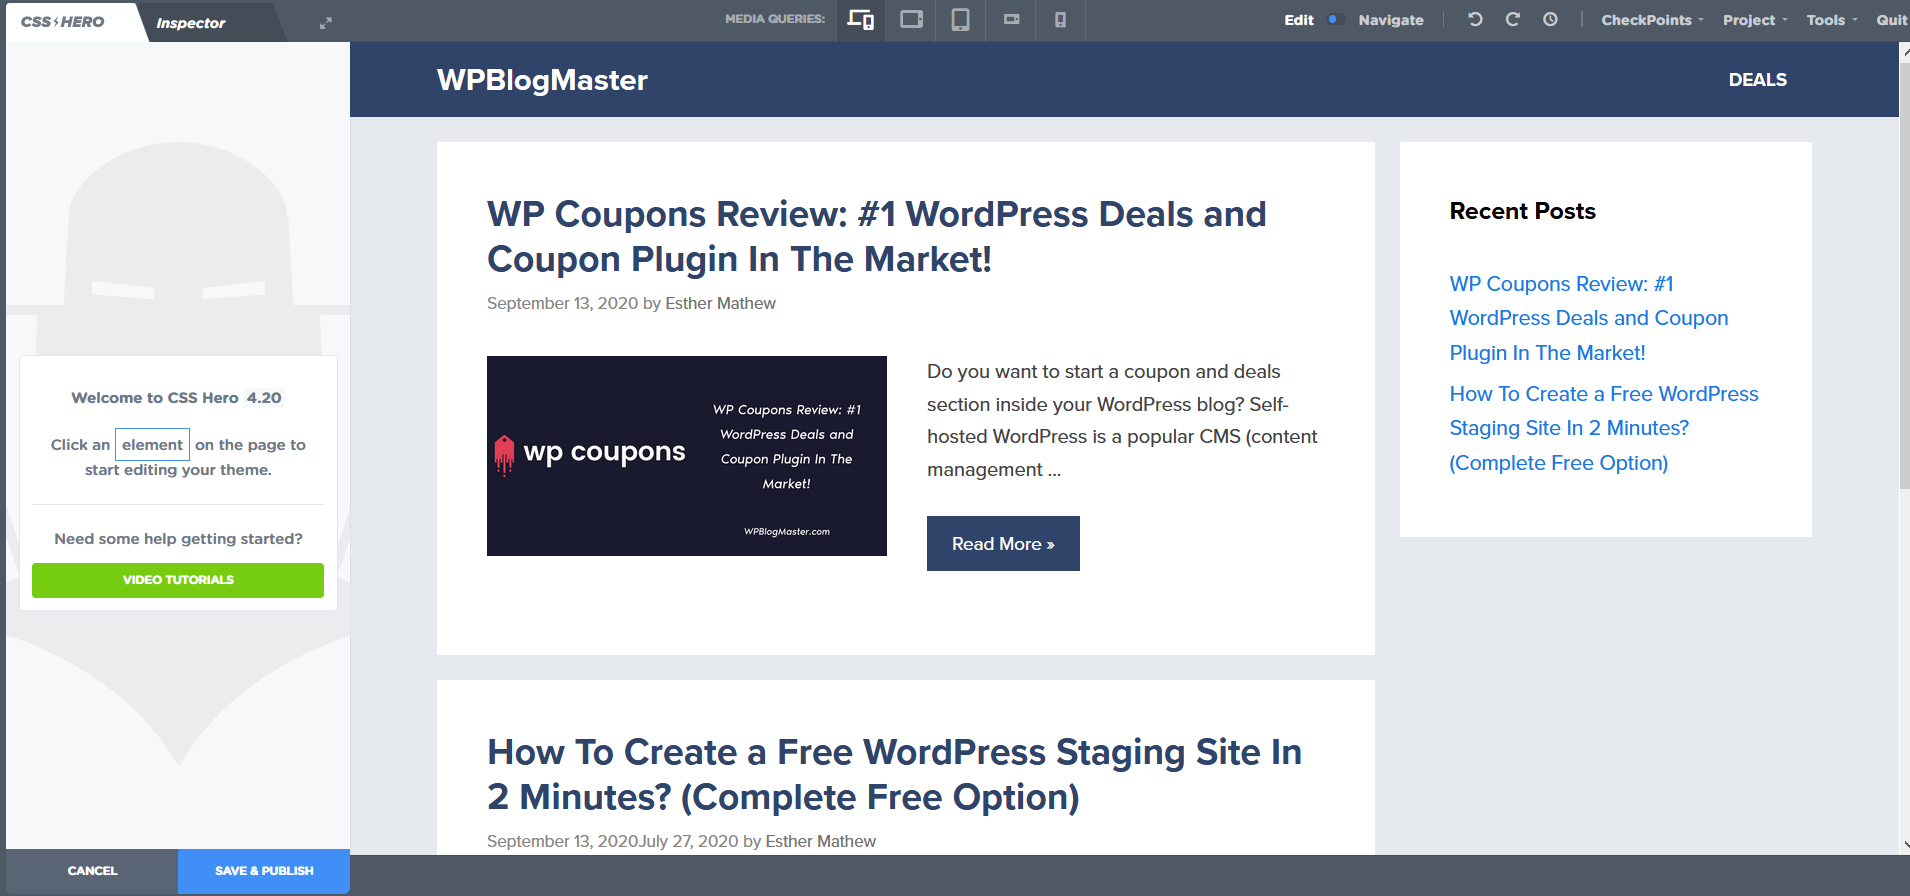
Click on it. You can see your active WordPress login page on the next screen.
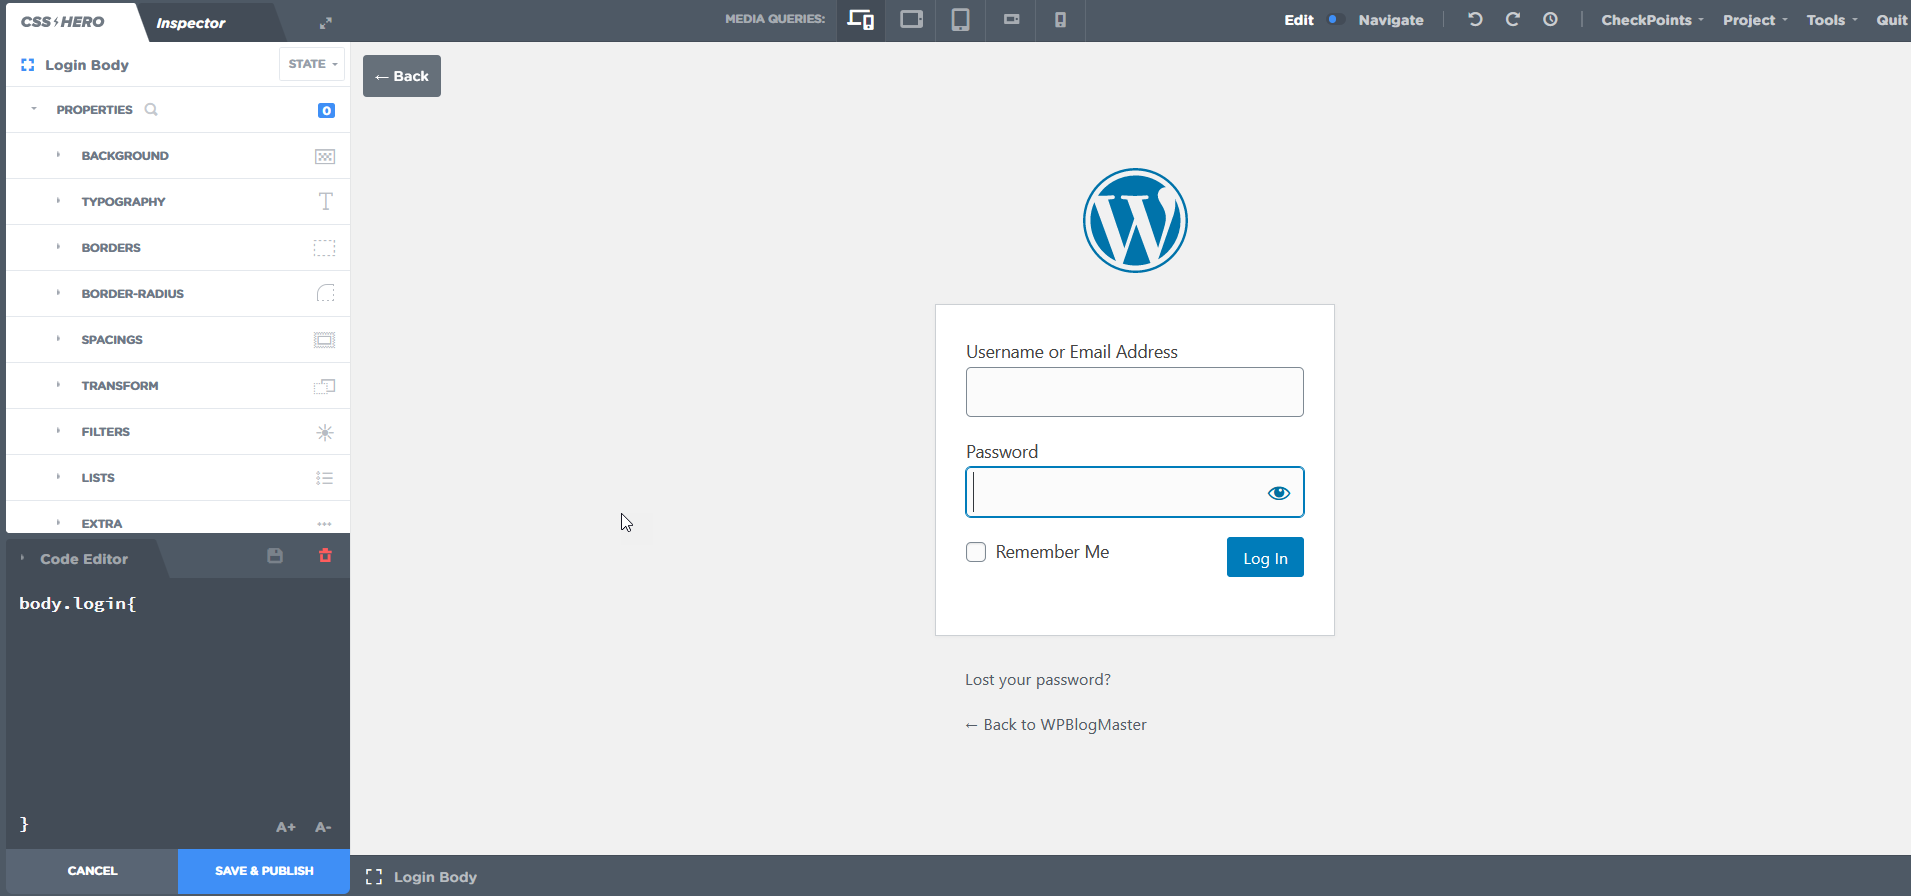
On the left side, you will be able to see the tools available for customization.
The main ones are
- Background.
- Typography.
- Borders.
- Border Radius.
- Spacing.
- Transform.
- Filters.
- Lists.
- Extra.
- Measures.
- Positioning.
Etc.
On top of that, you will be able to add custom animations to your CSS too. Let me quickly show you how can you make customizations in your login form.
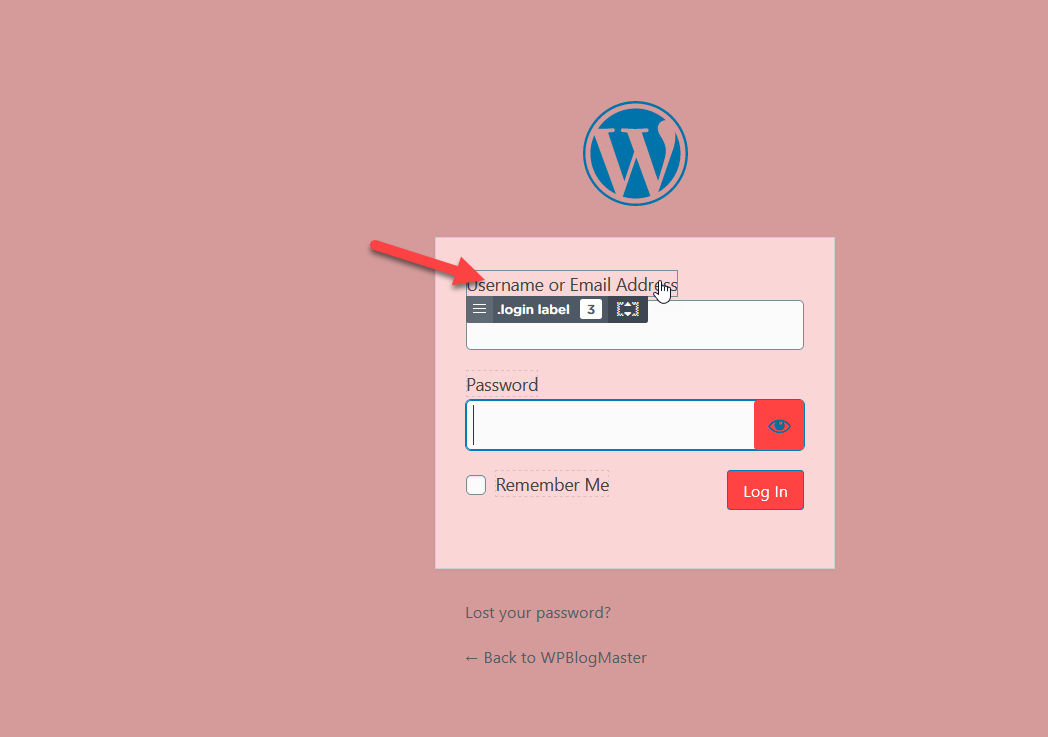
On mouse hover, the plugin will show you the CSS Class of that specific element.
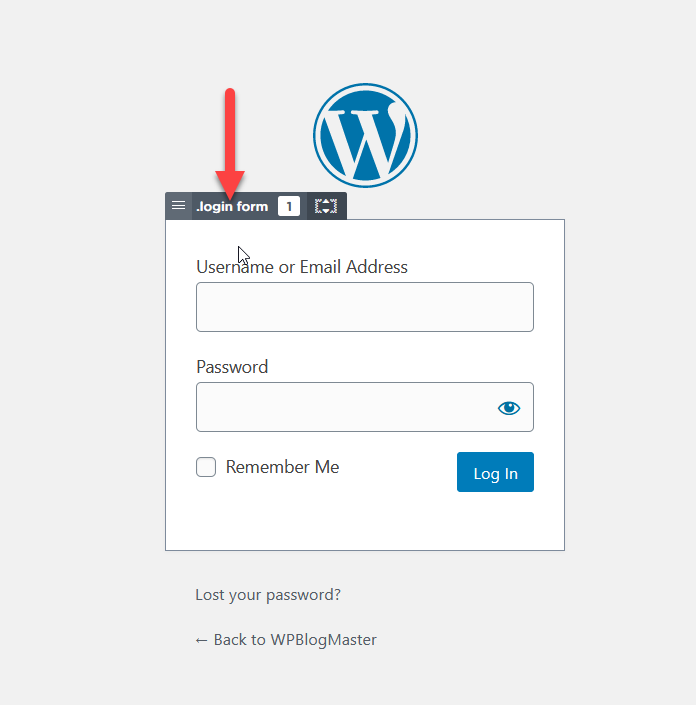
By default, the background color of the login form would be White. Let’s change it to something else. So, double-click on that element. The CSS Class will be opened in the editor.
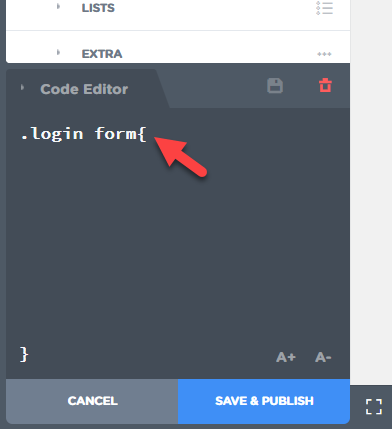
We don’t want to add CSS codes manually. By using the tools we mentioned above, we can make live customizations. And the interesting part is, the CSS codes will be generated automatically!
For changing the background color, we will need to go to the background option.
Choose a color from there.
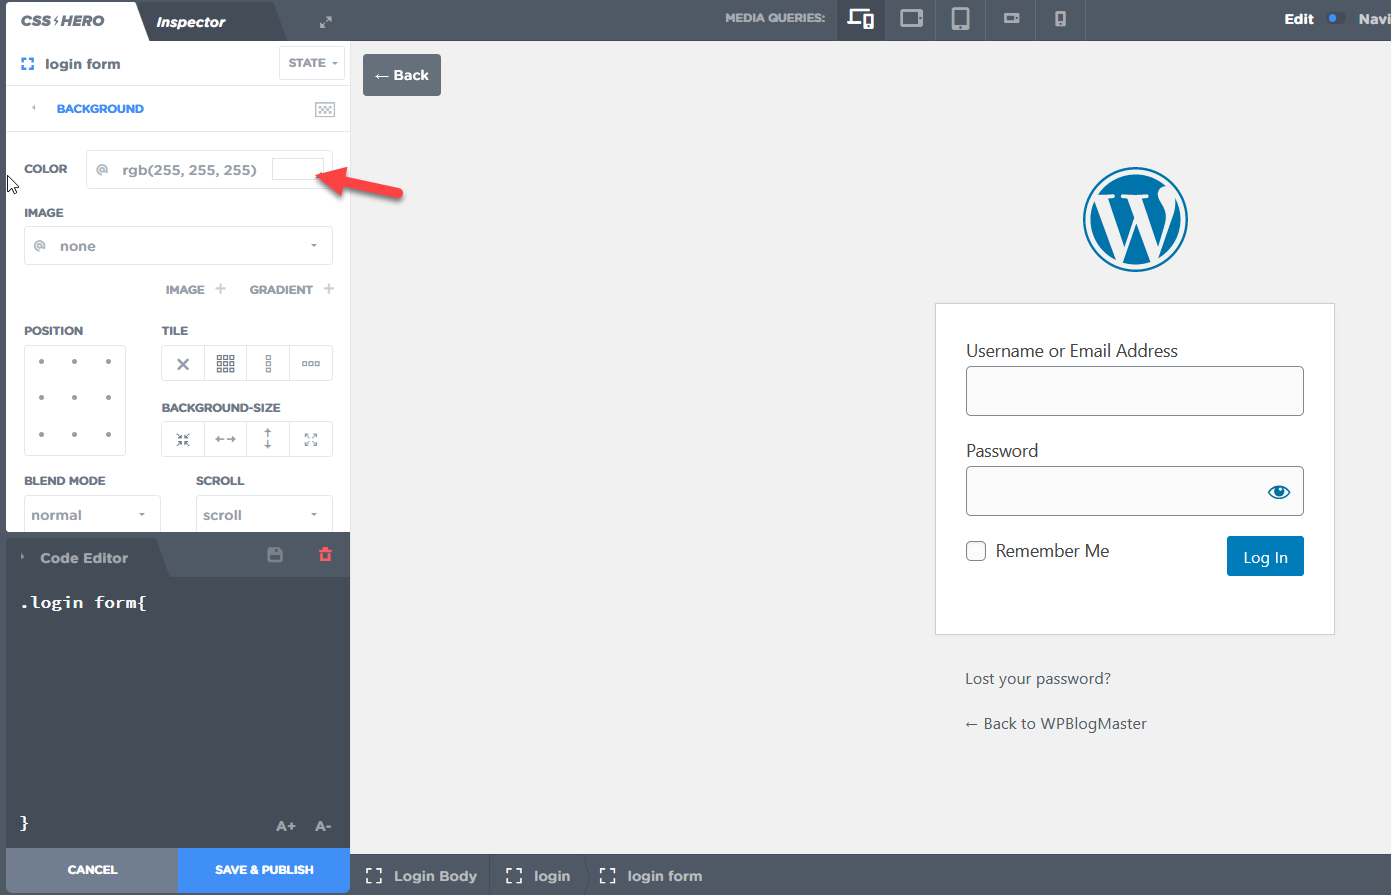
In my case, I have changed the color of my login form to something else. And you can see the live preview in the right section. Plus, the CSS codes got generated and added to the code editor.
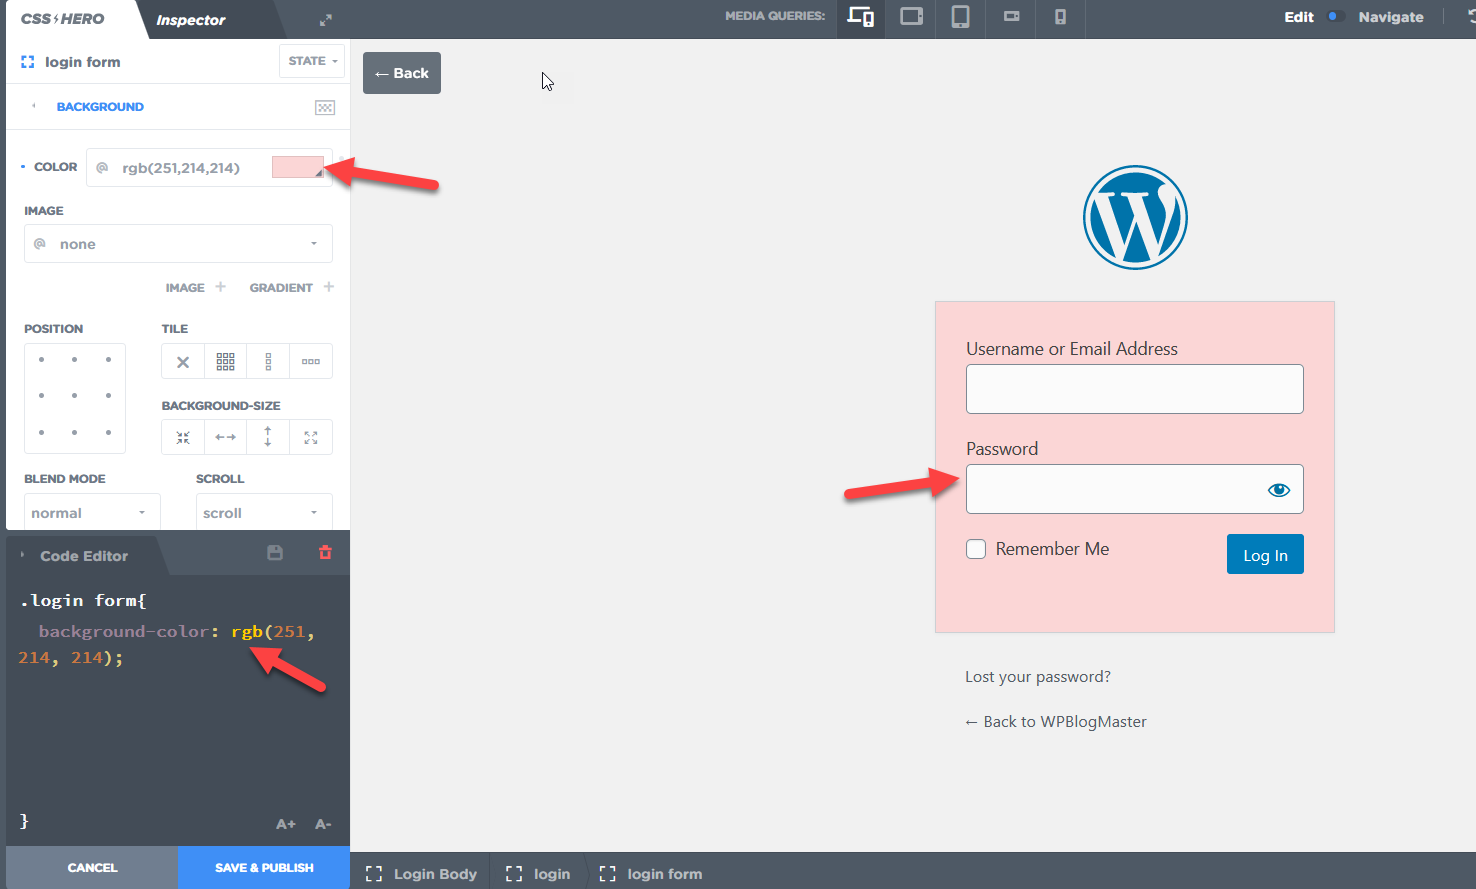
This way, you can change the color of any element you have on the login page. Let’s change the button color now. Just like we mentioned above, select the element, choose the background option, and change the color.
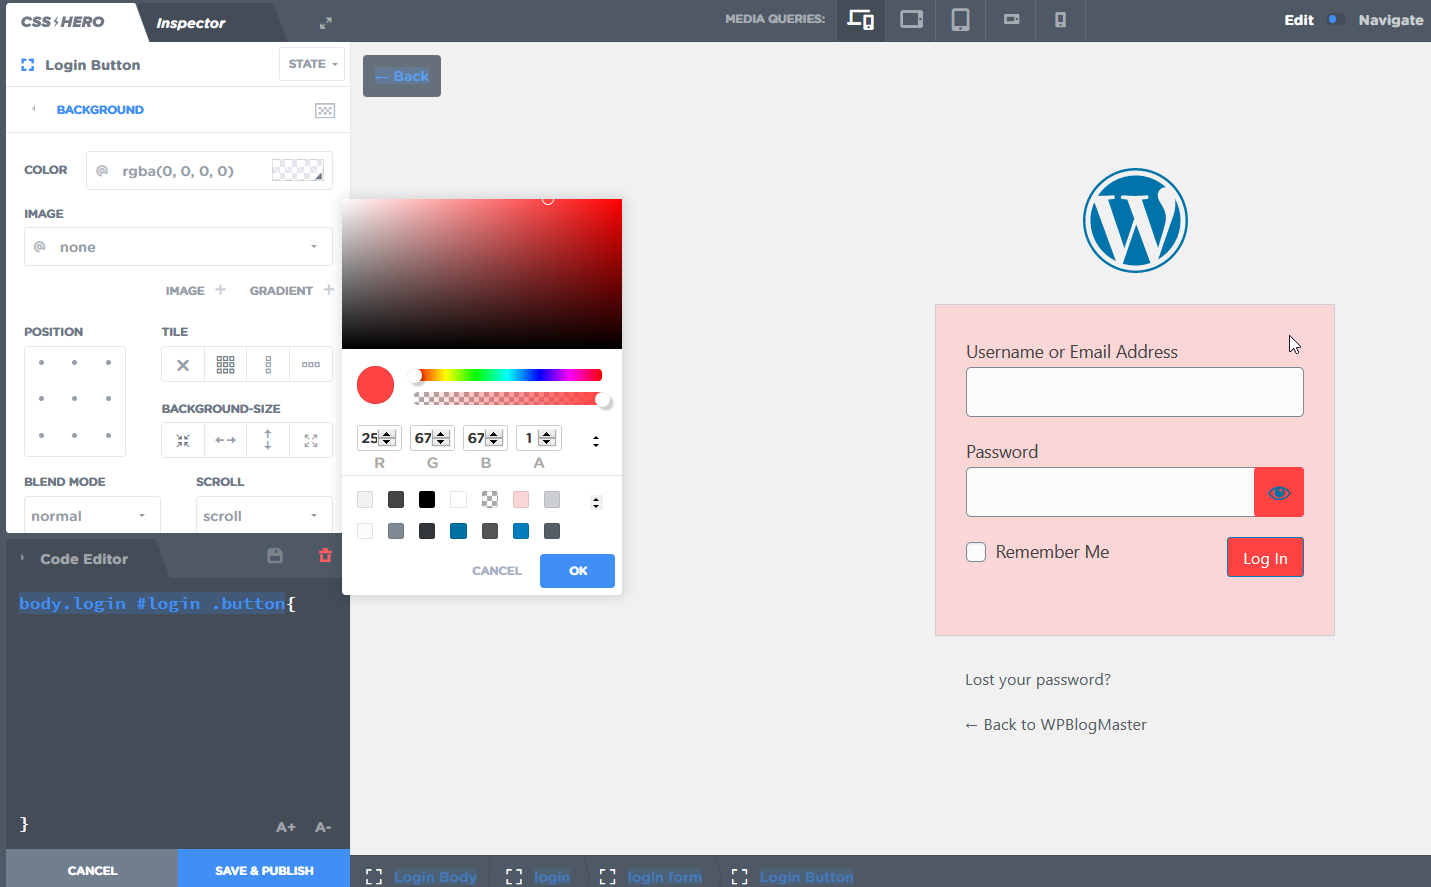
The good thing is, you can change the colors according to your brand/ styling. Another setting we have here for you is the typography customization.
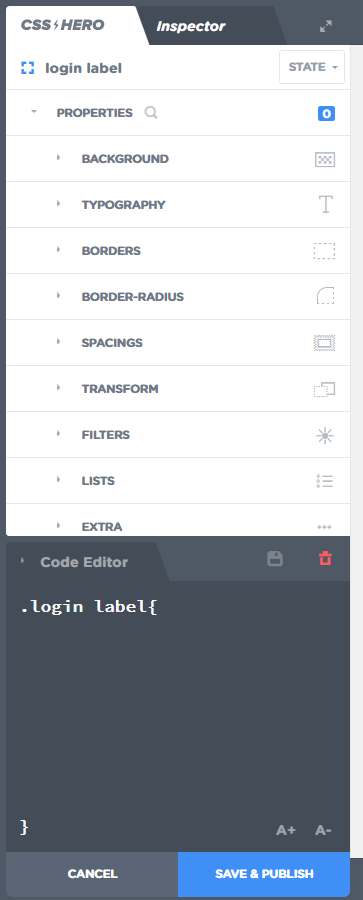
Select the element you need to edit.
From the left panel, choose the typography option.
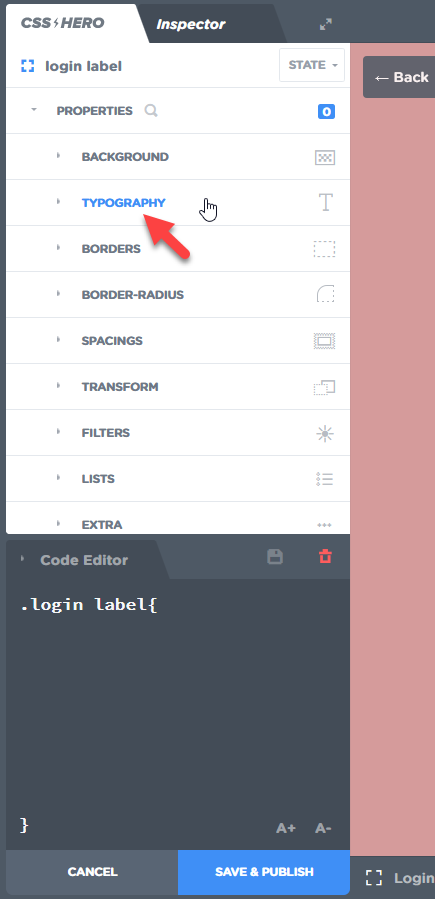
You will see the font settings on the next screen.
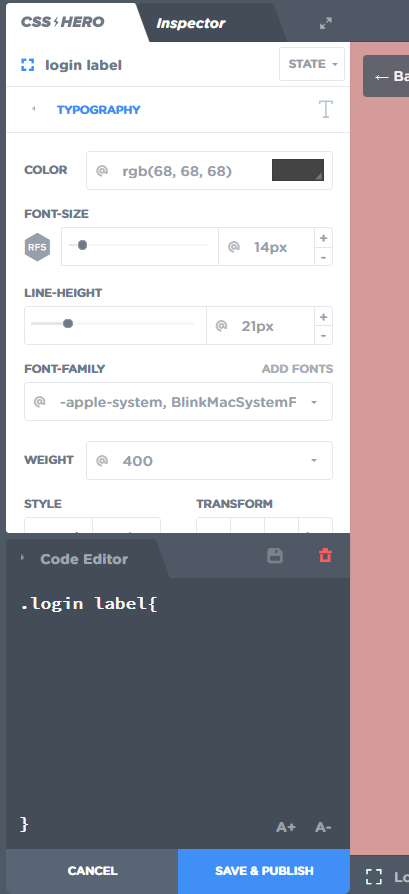
The main configurations you will see there are:
- Color.
- Font Size.
- Line Height.
- Font Family.
- Weight.
- Style.
- Transform.
- Align.
- Letter Spacing.
Etc.
Change anything you want to. In the right preview section, you can see all the changes.
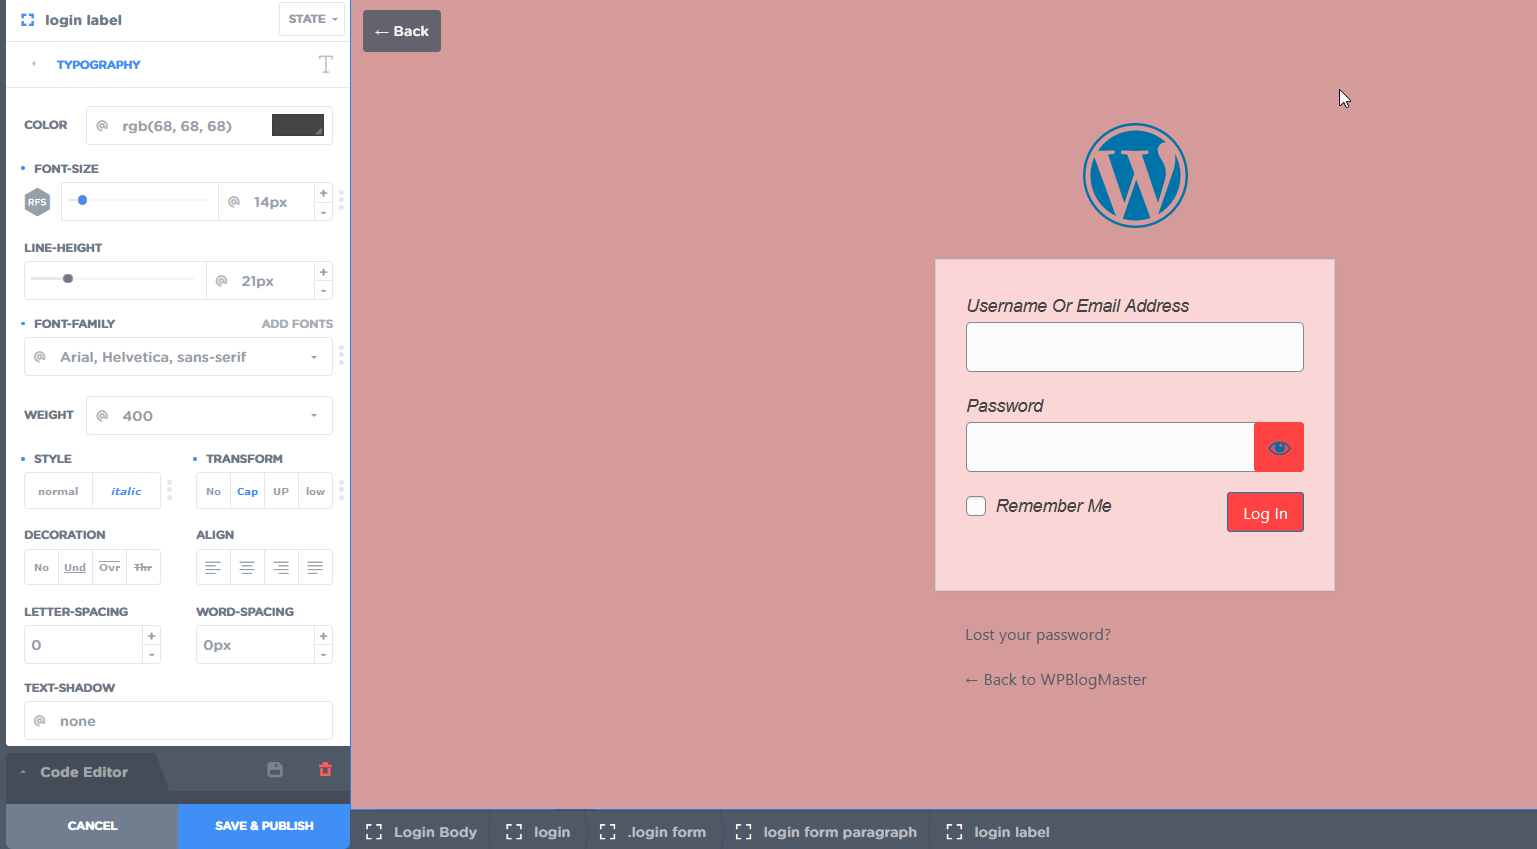
This way, you can customize every inch of your WordPress login page. Make sure that you are saving and publishing the changes.

And when you or anyone access your site’s login page, they will see the new modified design!
If you are still not seeing the changes, that is an issue with your cache. Try to clear your website’s cache and browser cache. Plus, you can also try accessing the page on an incognito window or another browser.
You will see the changes there.
Get Started With CSS Hero
You can get the premium version of CSS Hero from below.
So this is how you can customize the WordPress login page of your WordPress site. Found this article helpful? If yes, please consider sharing this with your friends and fellow bloggers on social media. It will help someone to design their WordPress login page.
If you need more WordPress tutorials and reviews, feel free to check out our blog section.